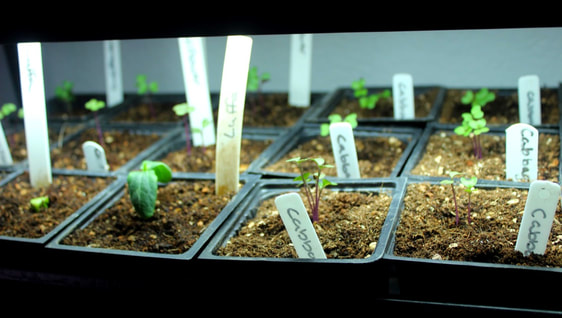
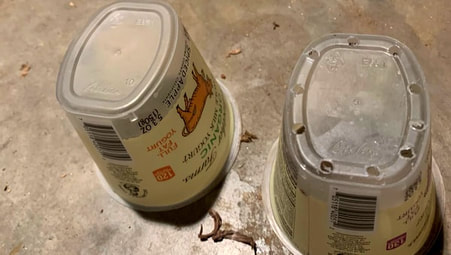
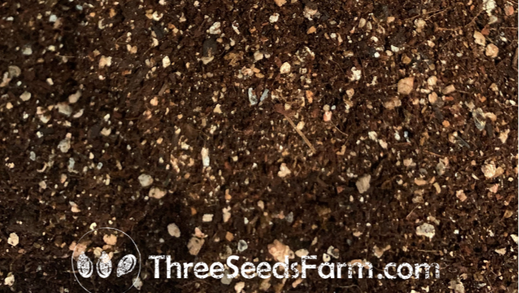
Tips for a Successful Garden!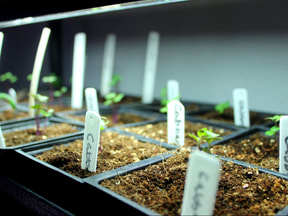 Is seed starting a frustrating experience? I would gather all my supplies, ripe with excitement for spring, only to be disappointed when my tiny seedling soon died. I couldn't figure out what I was doing wrong. I had almost given up on the entire notion that I could start a garden indoors and therefore give myself a head start. After consulting a few garden friends, I was able to up my seed starting game and turns out I'm actually pretty good at it! As a zone 5 gardener, this was a major victory! After spinning my wheels for so long, I knew I had to share my seed set-up with everyone. There are a few key tools that made all the difference. If you've struggled starting seeds then keep reading... Game Changer #1---> Heat! Seeds need both heat and moisture to germinate. At temps too low, seeds will absorb the needed moisture but will not begin root growth. This temperature varies from plant to plant. For instance, beets can germinate in soil temps as low as 40 degrees Fahrenheit and therefore can usually be planted in early spring directly in your garden bed. Melons, cucumbers, and peppers require soil temps no lower than 60 degrees Fahrenheit. In order to get a decent harvest of these crops in Colorado, I need to start these indoors before my outdoor soil temps even come close to that. Using a seedling heat mat germinated more seeds AND at the same time. Having seedlings that germinate together is very helpful when it comes time to transplant. Seeds also germinated in a much shorter timeframe. I have two of these seed mats in my rotation as I begin starting seedlings in January and each month thereafter until May, when I can direct sow the rest of my crop. Roots grow more vigorously under the heat mat, giving my plant starts a better chance of survival. Nutrients and water are taken into the plant more readily when the soil temps are correct. The seedling heat mat also allowed me to put young seedlings in a colder area of the house, like my basement, without worrying about them. Of course, I have to supplement a light source too, which brings me to my next point... Game Changer #2---> Light! Most seeds do not require light to germinate, and actually can be inhibited by too much light. Of course, there are exceptions to this rule too so check with your seed packet to be sure. Once a seed sprouts, it will need 12-14 hours of light a day for proper growth. Without light, seedlings will grow very leggy and weak and eventually die. To get adequate light, you can place your seedling in a south facing window. In my past experiences though, this was not enough light to keep my plants from getting leggy as they reached for the sun. To help with this, I grabbed a few plant lights from my local Walmart, garden store and Amazon. It is important to place the light as close to the plants as possible without touching them. This will encourage stout growth and stronger plants. Move the trays around every few days to get equal light all around your plant and raise the light as needed. Game Changer #3---> Water! Watering is very important when starting seeds. Turns out there is a right and wrong way to do it! My main problem in the past had to do with consistency. I would over water my baby seedlings, then realizing my mistake, I would not water them. The pots would get bone dry and then I would over water again. Boy oh boy! What a mess! Mold and fungus would show up, weakening my plants. Then the final blow was a lack of water. The best way to water is from the bottom. This encourages healthy root growth. In order to do this, your seeds will need to have access to the water from below. So a peat pellet or pot with holes on the bottom works best. I like to collect yogurt and sour cream containers and drill holes in the bottom. The containers that cherry tomatoes come in work well too. Pour water into the tray, avoiding the plants themselves. The pots will soak up the water and the plants will have ample amounts of water. I will allow the soil to dry up a bit before watering again. Once a week you can add fertilizer to your water, such as fish emulsion to established seedlings. Game Changer #4 ---> Soil! Quick and easy peat pellets make seed starting a snap. I have used them in the past with success and still use them from time to time. My main gripe is that they require me to be less self-sufficient. If for some reason, everyone starts gardening this spring, maybe due to food shortage concerns. **Cough Cough** Well then, I may be in a pickle. So diversity is the spice of life. Last year I used coconut coir, which is a sustainable by-product from coconuts. This worked great! This year I will be mixing up my own easy DIY potting mix using coconut coir, vermiculite and compost. But to be truly self sufficient, a little soil from the yard and some fully-composted manure or chicken litter will also do the trick. The down-side here is the possibility of weed seeds also germinating. I find soil to be personal preference and there are many recipes out there to make your own. The main concern here is not to over-fertilize young plants which will "burn" them and then...game over. Ask me how I know. ;) After taking a fresh look at these four very important parts of seed starting, I have been able to start many seeds indoors, including rosemary and lavender which I failed miserably at previously. I hope that you will have the confidence to start your own garden from seed this year. The process saves me lots of money as well as being very rewarding. What tips or tricks can you share about your seed starting process? Having trouble finding seeds this year??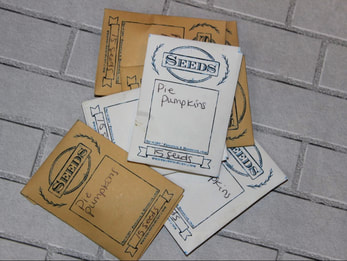 Three Seeds Farm carries a small variety of non-GMO, chemical free seeds. Check them out and support a small family farm!
0 Comments
Your comment will be posted after it is approved.
Leave a Reply. |
AuthorFrancesca, wife and mother of three, eagerly shares day-to-day life on her ten acre farm in northern Colorado. Categories
All
Archives
March 2023
|
|
Copyright © 2022 3 Seeds Farm
Site powered by Canopy Creative Marketing |
|


 RSS Feed
